Painting from photo effect
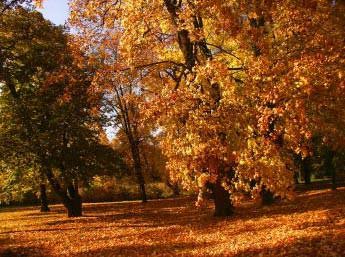
Today we'll learn how to transform a photo into a painting. First pick a nice photo from a free stock images site or your personal stock collection. This is the image we'll be working on:
 Nice shades of green and brown in this stock image. First open it in your copy of Photoshop. This tutorial should work on all versions of Photoshop. We'll use the cutout filter with a twist of blending to provide this image with a little more shading and detail. First duplicate the layer image using Ctrl+J. Then desaturate this top layer using Image -> Adjustments -> Desaturate or Shift+Ctrl+U.
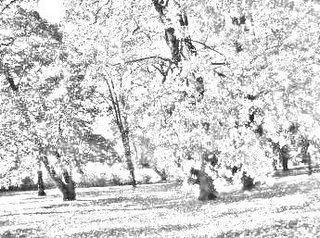
 Then duplicate this desaturated layer by using Ctrl+J again and invert this last layer by using Ctrl+I. This last two layers we'll use to provide the shading for the bottom layer. Use the Color dodge blending mode on the top desaturated and inverted layer. Don't worry if nothing is showing yet. We'll use gaussian blur on this top layer to obtain a nice crayon sketch effect. Use a 2 to 5 pixels radius on the gaussian blur filter.
 Merge the desaturated and inverted layer with the desaturated layer by selecting the top layer and using Ctrl+E. Use the multiply blending mode to the new top layer. Select the bottom layer an use the Cutout filter (Filter -> Artistic -> Cutout) with the following settings: Number of levels:8, Edge simplicity:0, Edge fidelity:3. Now your image will look like a painting, but with more shading and detail.

 Nice shades of green and brown in this stock image. First open it in your copy of Photoshop. This tutorial should work on all versions of Photoshop. We'll use the cutout filter with a twist of blending to provide this image with a little more shading and detail. First duplicate the layer image using Ctrl+J. Then desaturate this top layer using Image -> Adjustments -> Desaturate or Shift+Ctrl+U.
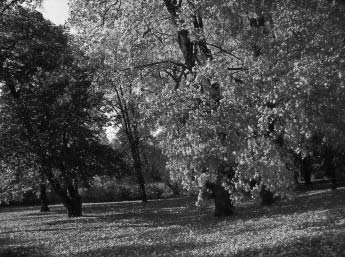 Then duplicate this desaturated layer by using Ctrl+J again and invert this last layer by using Ctrl+I. This last two layers we'll use to provide the shading for the bottom layer. Use the Color dodge blending mode on the top desaturated and inverted layer. Don't worry if nothing is showing yet. We'll use gaussian blur on this top layer to obtain a nice crayon sketch effect. Use a 2 to 5 pixels radius on the gaussian blur filter.
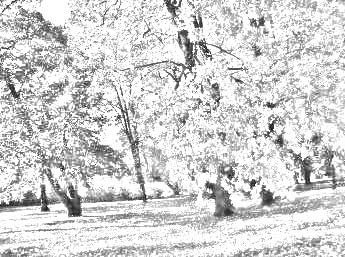 Merge the desaturated and inverted layer with the desaturated layer by selecting the top layer and using Ctrl+E. Use the multiply blending mode to the new top layer. Select the bottom layer an use the Cutout filter (Filter -> Artistic -> Cutout) with the following settings: Number of levels:8, Edge simplicity:0, Edge fidelity:3. Now your image will look like a painting, but with more shading and detail.
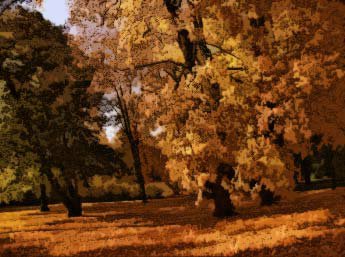
Save to Del.icio.us |
Furl It | Digg
| Permalink ![]()
![]()
I liked this effect, but for some reason it doesnt work on my image, ive tried it twice too.
Posted by Anonymous |
November 12, 2005 12:20 AM
Anonymous |
November 12, 2005 12:20 AM
it didn't really make my image look like a painting, but did make it brighter with crisper edges. nice effect.
Posted by Anonymous |
February 12, 2006 8:53 PM
Anonymous |
February 12, 2006 8:53 PM